BEFORE AND AFTER

PHASE 1 – G+1
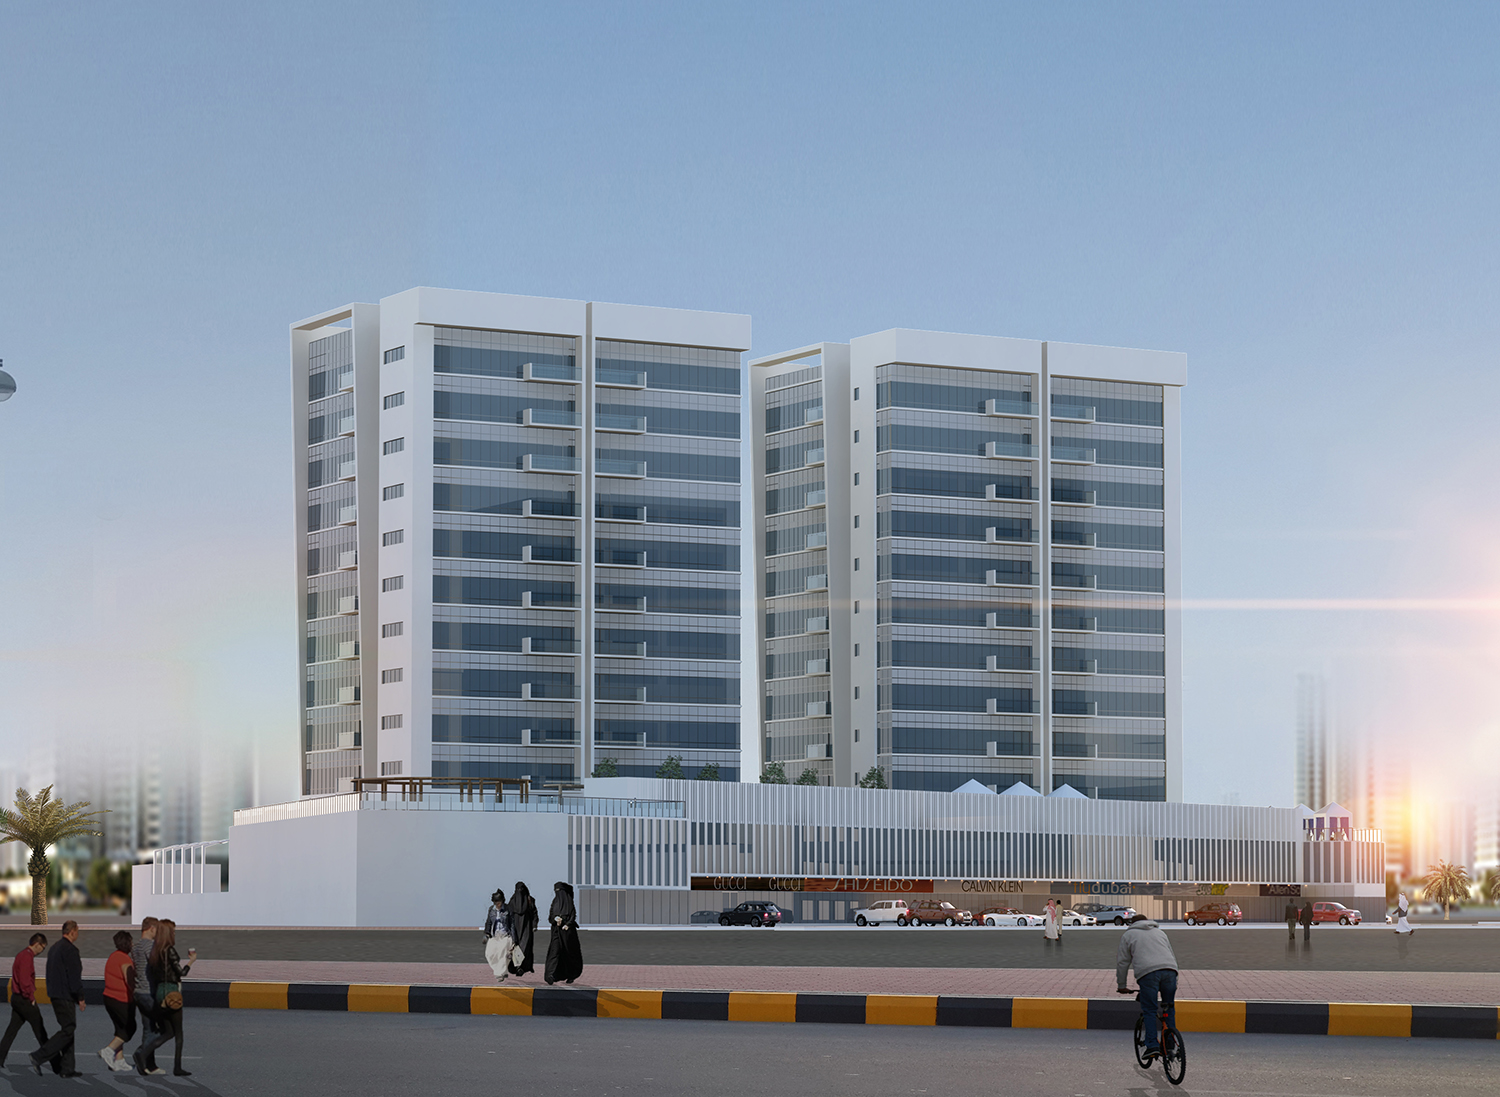
PHASE 2 – Tower 1
FNCT has successfully completed many prestigious projects for both the public and private sectors in the Emirate of Fujairah and is considered to be the leading Company (in it’s field) on the East coast of the United Arab Emirates.


 A Member of Fujairah National Group